できること
対象物の色を検知して入力するセンサーです。
検知した色は、HSV色空間での色に変換されます。
使用方法
VIVIWARE Cell LEDにVIVIWARE Cell Color PickerとColor Conversion Moduleを繋いで中央のセンサーに対象物を近づけると、検知した色でLEDが光ります。
VIVIWARE Cell LEDの色の濃さを変えるには、Color Conversion ModuleのSにAnalog入力のModuleを繋ぎ、100を入力してください。
補足
|
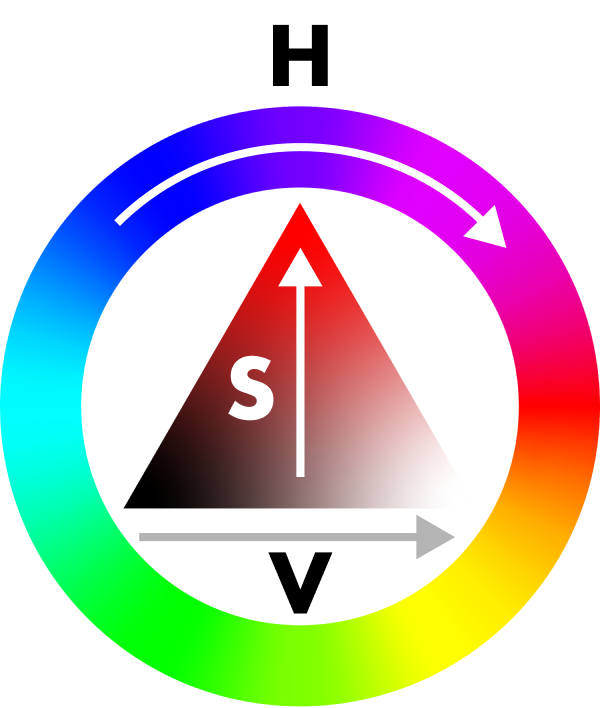
HSVとは:
色相(Hue)、彩度(Saturation・Chroma)、明度(Value・Brightness)の三つの成分からなる色空間。
色相は色味、彩度は鮮やかさ、明度は明るさのこと。
|
 |
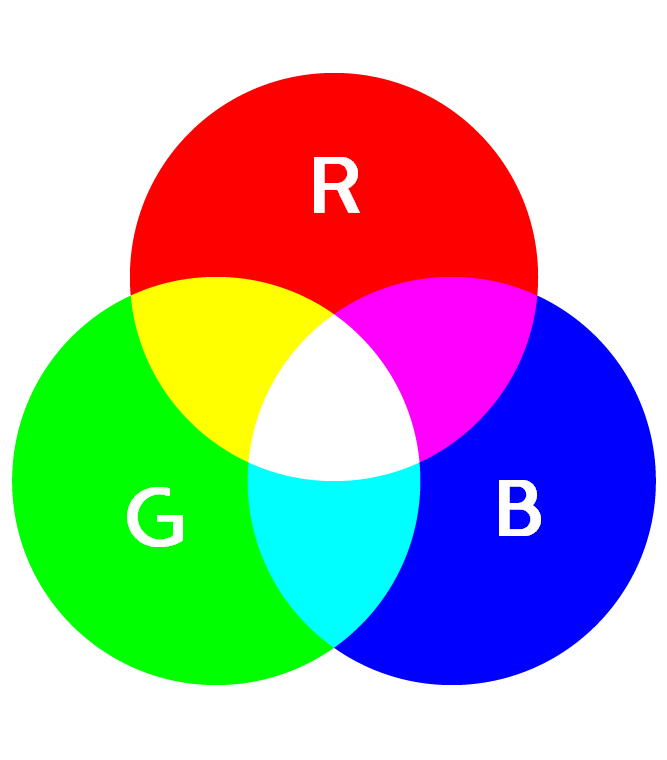
RGBとは:
Red=赤、Green=緑、Blue=青の三つの原色を混ぜて、幅広い色を表現する方法。
液晶ディスプレイなど、コンピューターやテレビの映像表示に使われています。 |
 |
注意点
正しく色を検知するには、画用紙などの光をあまり通さないものを、センサーにぴったりくっつけて計測してください。
Tips
Color Picker Optionは、もっと正確に色判定をしたい時や、少し離れたところの色を計測してみたい時に使います。
1. センサー横の白色ライトの強度(Light)を調整できます。
2.Lightの初期値は約30です。
3.LightにAnalog入力のModuleを繋いで、明るさを調整できます。
4. 少し離して(5mm程度まで)使う時は、Light=100で試してみよう!
What you can do
A sensor to detect and input the color of an object.
The detected color is converted to one in the HSV color space.
How to use
Use the VIVIWARE Cell LED with VIVIWARE Cell Color Picker and Color Conversion Module, then place the object close to the central sensor, the color will be displayed.
To change the color intensity of the VIVIWARE Cell LED, connect an analog input Module to the “S” on the Color Conversion Module and input 100.
Remarks
|
What is HSV?
A color space consisting of three components:
Hue, Saturation/Chroma, and Value/Brightness.
Hue means color, Saturation means vividness, and Lightness means brightness.
|
 |
|
What is RGB?
A way to express a wide range of colors by mixing the three primary colors Red, Green, and Blue.
It is used to display images on computers and televisions, such as liquid crystal displays.
|
 |
Caution
Use a paper that does not let much light through, such as construction paper, to correctly detect the color.
Make sure to measure by attaching it closely to the central sensor.
Tips
The Color Picker Option is for when you want to make more accurate color judgments, or when you want to measure colors at a little distance.
1. “Light” is a white light next to the central sensor, and its intensity can be adjusted.
2. The default for “Light” is about 30.
3. Adjust the brightness by connecting an analog input Module to the “Light“.
4. Try to set the “Light” to 100 when using it a little farther away (up to about 5mm).